
When it comes to making your home more energy-efficient, one upgrade that often comes up is installing a radiant barrier. If you’ve been thinking about it, you’re probably wondering about the costs involved. How much will it set you back? Is it worth the investment? I’m here to break down everything you need to know about radiant barrier pricing, so you can make an informed decision for your home.
Breaking Down Radiant Barrier Pricing
Radiant barrier pricing can vary quite a bit depending on several factors. Think of it like buying a car - the make, model, and features all influence the final price. With radiant barriers, the size of your attic, the type of material used, and whether you hire a professional or do it yourself all play a role.
Here’s a quick look at what affects the cost:
- Material Type: Radiant barriers come in different forms, such as foil-faced kraft paper, foil-faced bubble wrap, or foil-faced cardboard. The price varies depending on the quality and thickness of the material.
- Attic Size: The larger your attic, the more material you’ll need, which naturally increases the cost.
- Installation Method: Professional installation costs more but ensures the job is done right. DIY kits are cheaper but require time and effort.
- Labor Costs: If you hire a pro, labor charges depend on your location and the complexity of the job.
On average, you can expect to pay between $0.30 and $0.50 per square foot for materials alone. Adding installation, the total cost usually ranges from $1,000 to $2,000 for a typical home attic.
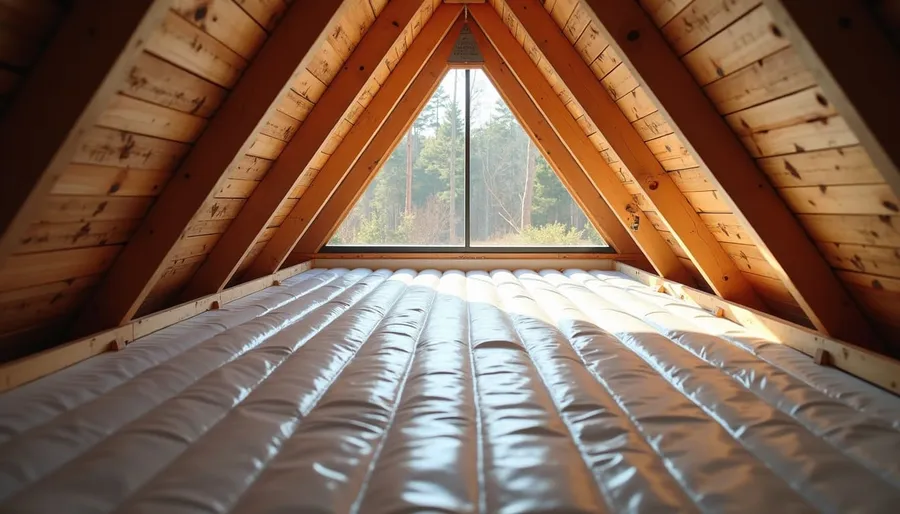
High angle view of attic with radiant barrier installation in progress
Is Radiant Barrier Worth the Cost?
This is the big question, isn’t it? Spending money on home improvements always makes you pause and think about the return on investment. So, is a radiant barrier worth the cost?
The short answer: yes, especially in warm climates like Sarasota. Radiant barriers work by reflecting radiant heat away from your attic, keeping your home cooler during hot months. This means your air conditioner doesn’t have to work as hard, which can lead to noticeable savings on your energy bills.
Here’s what you can expect:
- Lower Cooling Costs: Studies show radiant barriers can reduce cooling costs by 5% to 10%. That might not sound huge, but over time, it adds up.
- Improved Comfort: Your home stays cooler and more comfortable, especially during the hottest days.
- Long-Term Savings: The barrier itself can last 10-20 years, so the savings continue for a long time.
- Increased Home Value: Energy-efficient upgrades can boost your home’s resale value.
If you live in a cooler climate, the benefits might be less dramatic, but here in Sarasota, where the sun beats down hard, a radiant barrier can be a smart investment.
How to Save on Radiant Barrier Installation
Nobody likes to pay more than they have to. Luckily, there are ways to keep your radiant barrier installation cost manageable without sacrificing quality.
- Get Multiple Quotes: Don’t settle for the first contractor you find. Getting several estimates helps you compare prices and services.
- Consider DIY: If you’re handy and comfortable working in your attic, a DIY radiant barrier kit can save you labor costs. Just be sure to follow instructions carefully.
- Combine with Other Upgrades: Sometimes, contractors offer discounts if you bundle radiant barrier installation with other insulation or energy efficiency projects.
- Check for Rebates: Some local utility companies or government programs offer rebates or incentives for energy-saving home improvements.
- Schedule During Off-Season: Contractors might offer better rates during slower months.
By planning ahead and shopping smart, you can enjoy the benefits of a radiant barrier without breaking the bank.
Close-up view of radiant barrier material rolled out in attic
What to Expect During Installation
Understanding the installation process can help you feel more confident about the project. Radiant barrier installation is usually straightforward but requires attention to detail.
Here’s a quick overview:
- Preparation: The attic is cleared of any debris or obstacles.
- Measuring and Cutting: The radiant barrier material is measured and cut to fit the attic space.
- Installation: The material is stapled or fastened to the underside of the roof rafters or laid over existing insulation.
- Ventilation Check: Proper attic ventilation is essential to maximize the barrier’s effectiveness.
- Cleanup: The area is cleaned up, and the installer checks for any gaps or loose sections.
Most installations take a day or two, depending on the size of your attic. It’s a relatively quick upgrade that can make a big difference in your home’s energy efficiency.
Making the Most of Your Investment
Once your radiant barrier is installed, there are a few things you can do to maximize its benefits:
- Maintain Attic Ventilation: Good airflow helps the radiant barrier work effectively.
- Combine with Other Insulation: Adding traditional insulation along with the radiant barrier can boost energy savings.
- Regular Inspections: Check your attic periodically to ensure the barrier is intact and hasn’t been damaged.
- Seal Air Leaks: Make sure your attic is sealed properly to prevent hot air from sneaking in.
By taking these steps, you’ll get the most bang for your buck and enjoy a cooler, more comfortable home.
If you’re curious about the exact numbers, you can explore more about radiant barrier installation cost to get a detailed breakdown tailored to your home.
Upgrading your attic with a radiant barrier is a smart move for anyone looking to save on energy bills and stay comfortable year-round. With the right information and a little planning, you can make this upgrade work for you.