
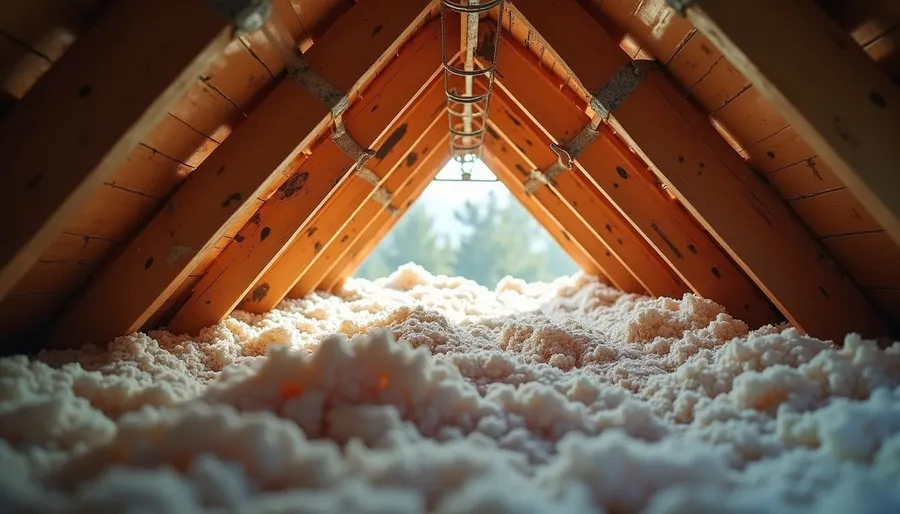
If you’ve ever felt a draft sneaking through your ceiling or noticed your energy bills creeping higher each month, your attic insulation might be the culprit. Replacing attic insulation is one of the smartest moves you can make to boost your home’s comfort and save money. I’m here to walk you through everything you need to know about attic insulation replacement, from spotting the signs to choosing the right materials and tackling the job safely.
Why You Should Replace Attic Insulation
Insulation is like a cozy blanket for your home. Over time, that blanket can get thin, patchy, or damaged. When insulation loses its effectiveness, your heating and cooling systems have to work overtime. This means higher energy bills and uneven temperatures inside your home.
Here are some clear reasons to consider replacing your attic insulation:
- Age: Insulation materials degrade over time. If your insulation is 15-20 years old, it might be time for an upgrade.
- Pests or Water Damage: Rodents, insects, or leaks can ruin insulation, making it less effective.
- Energy Bills: If your bills are rising without a change in usage, poor insulation could be the cause.
- Comfort: Cold spots in winter or hot rooms in summer often point to insulation issues.
Replacing attic insulation can make your home feel more comfortable year-round and reduce your energy costs significantly.
Eye-level view of attic space with old insulation being removed
How to Replace Attic Insulation: Step-by-Step
Replacing attic insulation might sound like a big job, but breaking it down into steps makes it manageable. Here’s a simple guide to help you through the process:
- Inspect Your Attic Start by checking the current insulation. Look for signs of damage, moisture, or pest infestation. Measure the depth of the insulation to see if it meets recommended levels.
- Choose the Right Insulation Material There are several types of insulation to consider:
- Fiberglass batts: Easy to install and affordable.
- Blown-in cellulose: Great for filling gaps and irregular spaces.
- Spray foam: Offers excellent air sealing but is more expensive.
- Prepare the Attic Before removing old insulation, wear protective gear like gloves, goggles, and a mask. Clear out any debris and seal air leaks in the attic floor or ceiling.
- Remove Old Insulation Carefully remove the old insulation. This step is crucial because damaged or contaminated insulation won’t perform well. You can bag it for disposal or recycling.
- Install New Insulation Follow manufacturer instructions for your chosen insulation type. Make sure to cover the entire attic floor evenly without compressing the material, as this reduces its effectiveness.
- Ventilation Check Proper attic ventilation is essential to prevent moisture buildup. Ensure vents are clear and functioning well.
- Clean Up and Inspect After installation, clean the area and double-check for any missed spots or gaps.
If you want to learn more about the process, check out this detailed attic insulation removal and replacement guide.
What is the 7 and 7 Rule for Attics?
You might have heard about the “7 and 7 rule” when it comes to attic insulation. It’s a handy guideline to balance insulation and ventilation for a healthy attic.
- 7 inches of insulation: This is the recommended minimum depth of insulation to keep your attic energy-efficient.
- 7 inches of ventilation space: Equally important is maintaining a 7-inch air gap between the insulation and the roof deck to allow proper airflow.
Why does this matter? Think of your attic like a sandwich. The insulation is the filling, and the ventilation is the bread. Without enough ventilation, moisture can get trapped, leading to mold and wood rot. Too little insulation, and you lose energy efficiency.
Following the 7 and 7 rule helps keep your attic dry, healthy, and energy-smart.
Choosing the Best Insulation for Your Attic
Picking the right insulation depends on your home’s needs, budget, and local climate. Here’s a quick rundown of popular options:
- Fiberglass Batts
Pros: Affordable, easy to install, widely available.
Cons: Can leave gaps if not installed carefully, less effective if compressed.
- Blown-in Cellulose
Pros: Great for filling odd spaces, made from recycled materials, good thermal performance.
Cons: Can settle over time, may require professional installation.
- Spray Foam
Pros: Excellent air sealing, high R-value per inch, moisture resistant.
Cons: Higher cost, requires professional application.
In Sarasota’s warm climate, insulation that also helps with moisture control is a big plus. Blown-in cellulose and spray foam are often good choices here.
High angle view of attic with new blown-in insulation being installed
Tips for a Successful Attic Insulation Replacement
Replacing attic insulation is a great DIY project if you’re comfortable with some physical work. Here are some tips to make it go smoothly:
- Safety First: Always wear protective gear. Insulation fibers can irritate your skin and lungs.
- Seal Air Leaks: Before adding new insulation, seal gaps around pipes, vents, and wiring to prevent drafts.
- Don’t Compress Insulation: Fluff it up to maintain its insulating power.
- Check Local Codes: Some areas have specific insulation requirements. Make sure you’re compliant.
- Consider Professional Help: If your attic has mold, pests, or complicated wiring, a pro can ensure the job is done safely and effectively.
Replacing your attic insulation is an investment that pays off in comfort and savings. Taking the time to do it right means you’ll enjoy a cozy home and lower energy bills for years to come.
Making Your Home More Energy Efficient Starts in the Attic
Upgrading your attic insulation is one of the best ways to improve your home’s energy efficiency. It’s like giving your house a warm hug that keeps the heat in during winter and the heat out during summer. Plus, it reduces the strain on your HVAC system, which can extend its lifespan.
If you’re in Sarasota or nearby, focusing on attic insulation replacement can make a noticeable difference in your home’s comfort and your wallet. Whether you tackle the project yourself or hire a professional, the benefits are clear: lower energy bills, fewer drafts, and a healthier living space.
Ready to get started? Remember, the key is to inspect, plan, and install carefully. Your attic is the gateway to a more energy-efficient home, and replacing its insulation is the first step on that journey.