
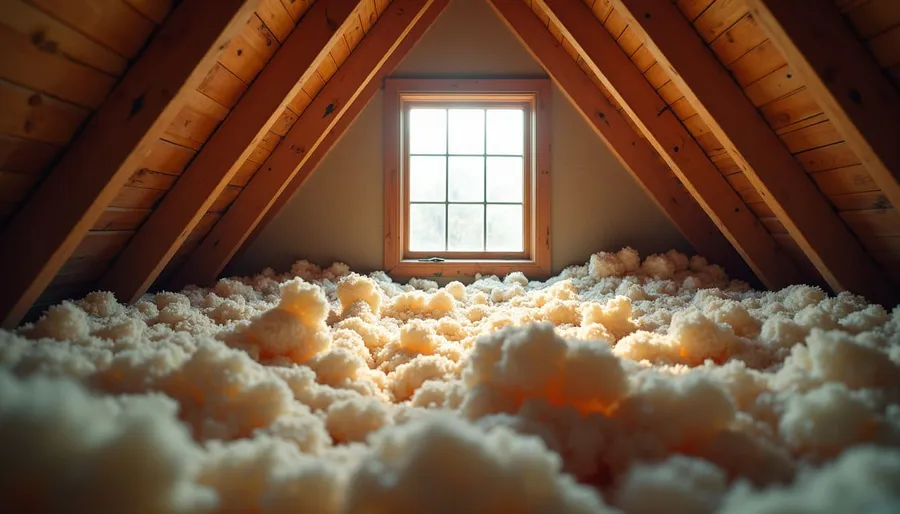
When it comes to keeping your home comfortable and energy-efficient, your attic plays a starring role. Over time, insulation can wear out, become damaged, or simply lose its effectiveness. That’s when attic insulation replacement becomes a smart move. I’m here to walk you through the entire process, making it easy to understand and even easier to tackle.
Why Attic Insulation Replacement Matters
Replacing your attic insulation isn’t just about comfort - it’s about saving money and protecting your home. Old or damaged insulation lets heat escape in winter and invade in summer. This means your heating and cooling systems work overtime, driving up your utility bills.
Think of insulation like a cozy blanket for your house. If the blanket is thin or full of holes, you’ll feel the chill. Upgrading your attic insulation is like wrapping your home in a fresh, thick blanket that keeps the temperature just right.
Here’s what you can expect from a good attic insulation replacement:
- Lower energy bills by reducing heat loss and gain
- Improved indoor comfort all year round
- Reduced strain on HVAC systems, extending their lifespan
- Better air quality by sealing out dust and allergens
If you’re in Sarasota or nearby, where the climate can swing from hot summers to cooler winters, this upgrade is especially valuable.
Eye-level view of attic space with old insulation being removed
The Attic Insulation Replacement Process: What You Need to Know
Replacing attic insulation might sound complicated, but breaking it down step-by-step makes it manageable. Here’s how the process usually goes:
1. Inspection and Assessment
Before any work begins, it’s important to inspect your attic. This helps identify:
- The type and condition of existing insulation
- Any moisture or mold issues
- Air leaks or gaps that need sealing
- Structural concerns or pest damage
This step ensures the replacement will be effective and safe.
2. Removing Old Insulation
Old insulation can be dusty, dirty, or even contaminated with pests. Removing it carefully is crucial. This usually involves:
- Wearing protective gear like masks and gloves
- Using specialized vacuums or manual tools to clear out the old material
- Properly disposing of the insulation according to local regulations
This step clears the way for fresh, efficient insulation.
3. Air Sealing and Repairs
Before adding new insulation, sealing air leaks is key. Common spots include around vents, chimneys, and wiring. Sealing these gaps prevents drafts and improves insulation performance.
If there’s any damage to the attic structure, such as rotted wood or pest damage, it’s repaired now.
4. Installing New Insulation
Now comes the exciting part - installing the new insulation! There are several types to choose from:
- Fiberglass batts or rolls - easy to install and cost-effective
- Blown-in cellulose or fiberglass - great for filling irregular spaces
- Spray foam insulation - excellent air sealing and high R-value
The choice depends on your attic’s layout, budget, and energy goals.
5. Final Inspection and Cleanup
Once the new insulation is in place, a final check ensures everything is installed correctly. Cleanup follows to leave your attic neat and ready for use.
This process might take a day or two, depending on your attic size and insulation type.
What is the 7 and 7 Rule for Attics?
You might have heard about the “7 and 7 rule” when it comes to attic insulation. It’s a simple guideline to help maintain a healthy attic environment.
The rule says:
- 7 inches of insulation on the attic floor
- 7 inches of ventilation space between the insulation and the roof deck
Why is this important? Proper ventilation prevents moisture buildup, which can cause mold and damage. It also helps regulate attic temperature, improving insulation efficiency.
Think of it like giving your attic room to breathe while keeping it cozy. If insulation blocks ventilation, you risk trapping heat and moisture, which defeats the purpose.
Maintaining this balance is key to a long-lasting, effective insulation system.
Proper ventilation space in attic above insulation
Tips for Choosing the Right Insulation for Your Attic
Choosing the right insulation can feel overwhelming with so many options. Here are some tips to help you decide:
- Consider R-value: This measures insulation’s resistance to heat flow. The higher the R-value, the better the insulation. For Sarasota, aim for an R-value between 30 and 60 in your attic.
- Think about installation: Blown-in insulation is great for filling gaps, while batts are easier for DIY projects.
- Check for moisture resistance: If your attic has moisture issues, spray foam or closed-cell insulation can help.
- Budget wisely: Spray foam is more expensive but offers superior performance. Fiberglass is budget-friendly but may need replacement sooner.
- Look for eco-friendly options: Cellulose insulation is made from recycled materials and is a greener choice.
If you’re unsure, consulting a professional can save time and money in the long run.
How to Maintain Your New Attic Insulation
Once your attic insulation is replaced, keeping it in good shape is easier than you might think. Here are some simple maintenance tips:
- Check your attic twice a year for signs of moisture, pests, or damage.
- Keep vents clear to maintain proper airflow.
- Seal any new gaps that appear around wiring or plumbing.
- Avoid storing heavy items on insulation, which can compress and reduce effectiveness.
- Consider adding insulation if you notice cold spots or rising energy bills.
Regular maintenance helps your investment last longer and keeps your home comfortable.
Ready to Upgrade? Here’s How to Get Started
If your attic insulation is looking tired or you’re just ready to boost your home’s energy efficiency, starting the process is easier than you think.
First, schedule a professional attic inspection to assess your current insulation and attic condition. This step is crucial to identify any hidden issues and get a clear plan.
Next, decide on the insulation type and budget that fits your needs. Remember, investing in quality insulation pays off in energy savings and comfort.
Finally, hire a trusted installer who understands local climate and building codes. Proper installation is key to getting the most from your new insulation.
For those interested in learning more about the attic insulation removal and replacement process, there are plenty of resources and experts ready to help.
Upgrading your attic insulation is a smart move that pays dividends in comfort and savings. With the right approach, your home will be a cozy haven no matter the season.
By following these steps and tips, you’ll be well on your way to a more energy-efficient and comfortable home. Remember, a well-insulated attic is like a warm hug for your house - and who doesn’t want that?